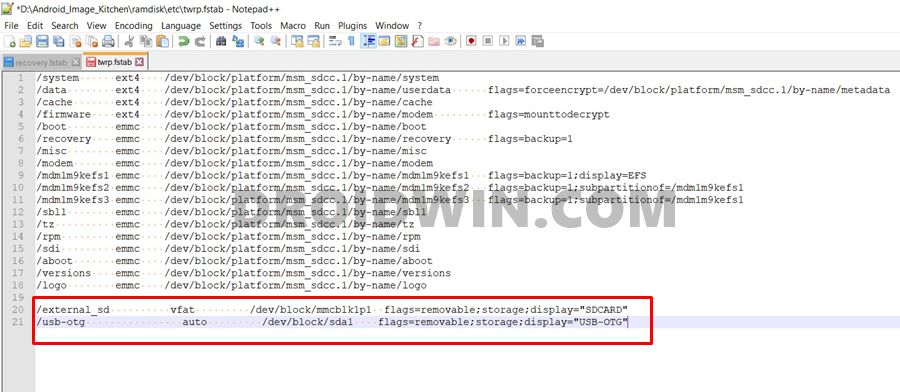
The benefits of this recovery stand aplenty. For example, you could easily flash ZIP and IMG files, create and restore Nandroid backups, mount external devices, and carry out other advanced functionalities. While some of these functionalities could be carried out without TWRP Recovery as well, but that requires way too much effort. Hence getting hold of the TWRP Recovery for your device is the top-most requirement, However, this recovery isn’t yet available for every Android device. All the official TWRP builds are hosted on their servers whereas the unofficial ones could be found from XDA. Even then, there are quite a few devices that don’t belong to any of these two lists. And for them, this guide shall come in handy. Given here are the detailed steps to create and port TWRP Recovery to any Android device. As of now, it is limited to Android devices running the Qualcomm chipset. With MediaTek devices, there are quite a few issues, majorly with the recovery’s recovery.fstab file. As and when I am able to rectify that issue, will create a separate guide for MTK devices as well. With that said, here are the detailed instructions to create and port TWRP Recovery to Android devices with Qualcomm as the underlying chip. Follow along.
How to Fix Soft brick/Bootloop after installing TWRP RecoveryCopy Move Rename Delete Files and Folders via TWRP RecoveryHow to Fix TWRP 0MB Internal Memory IssueUpdate TWRP Recovery on any Android Device
How to Create and Port TWRP to any Android Device
The below instructions have been segregated into separate sections for ease of understanding. Follow along in the exact same sequence as mentioned. Warning! The below process is quite risky and could brick your device and make it unusable. Droidwin and its members wouldn’t be held responsible in case of a thermonuclear war, your alarm doesn’t wake you up, or if anything happens to your device or your data by performing the below steps.
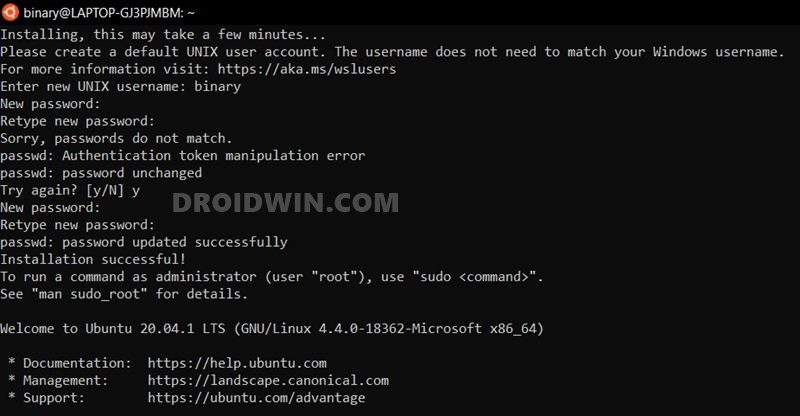
STEP 1: Enable Linux Shell on Windows 10
To carry out all such Android related tweaks, Linux is the go-to choice. However, I didn’t wish to leave my Windows OS at the same time. So I enabled the Linux Bash Shell Command inside Windows 10 only. It is a Developer Mode feature present inside Windows 10 for a few years, but not many seem to have an idea of this. The biggest advantage of this feature is the fact that you don’t have to use any Virtual Machine or a third-party app like Cygwin.
Everything is taken care of by the Windows OS itself. And I have tried out the entire instructions to create and port TWRP Recovery on Android using this Shell Command on Windows 10, so there is no reason why it shouldn’t work for you. With that said, refer to this guide to use Linux on your Windows 10 PC: How to Run Linux Commands in Windows 10 [without Virtual Machine].
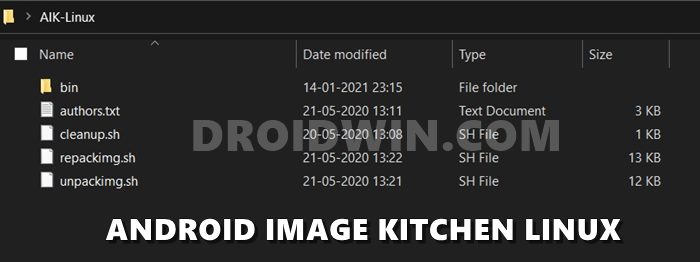
STEP 2: Install Android Image Kitchen
Once you have enabled Linux Shell Command on your Windows 10, the next step is to install the Android Image Kitchen. This is where we would be cooking the TWRP Recovery for your device. So download the AIK-Linux-v3.7-ALL.tar.gz. Credits: goes to XDA Senior Recognized Developer / Recognized Contributor osm0sis. Do keep in mind that this is a Linux build as we would be working inside the Linux ecosystem (on a Windows 10 OS!).
Moving on, once you have downloaded it, use an extracting software such as WinRAR to open it. Then extract its contents to any convenient location on your PC. While downloading or extracting it, Windows Defender will identify it as a Trojan. So you might have to temporarily disable it while downloading and extracting Android Kitchen. Once the download/extraction is complete, then make sure to re-enable the Defender again. Then move to the next step to create and port TWRP Recovery to any Android device.
How to Root Android Devices via TWRP RecoveryTWRP: fastboot flash vs fastboot boot: Which command to useHow to use USB OTG or Pen Drive to Flash File via TWRP RecoveryHow to Fix Soft brick/Bootloop after installing TWRP Recovery
STEP 3: Download TWRP for Screen Resolution
You will now have to download the required TWRP recovery in accordance with the desired screen resolution. Thanks to XDA Senior Member Augustoandro for the below piece of valuable information.
If your screen resolution is 480 x 850 or 480 x 854; then download LG Nexus 4 TWRP.Likewise, if your screen resolution is 720 x 1280, or 800 x 1280 or 720 x ‘something’; then download Asus Nexus 7 TWRPOn the other hand, if your screen resolution is 1080×1920, then download the Motorola Nexus 6 TWRP. As for this guide, I have downloaded this one only.
Once you have downloaded the required recovery file, move to the next step to create and port TWRP Recovery to any Android device.
STEP 4: Get the Stock Recovery.img File
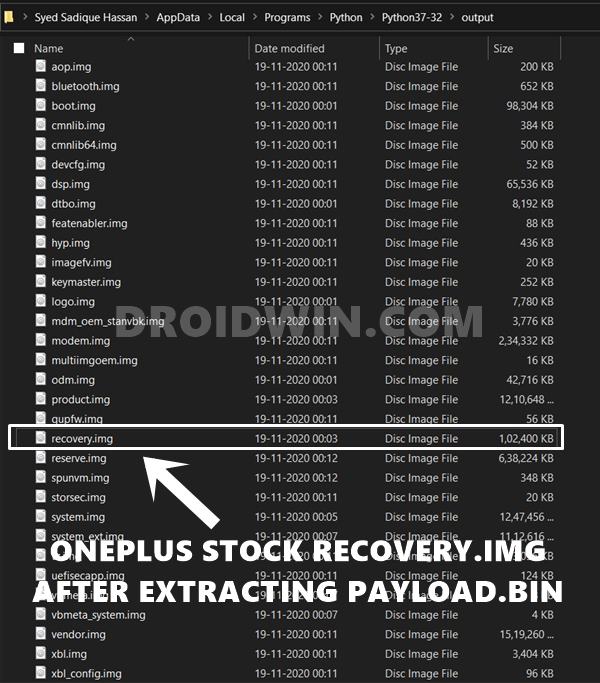
Now you will have to get a hold of the stock recovery.img file. This would be present inside the stock firmware itself. So download the firmware for your device and region (corresponding to your current build number). Once downloaded, extract it. Now if you have a Pixel device, then its partition files are present in ZIP format. So just extract it and get the stock recovery.img file. On the other hand, OnePlus and a bunch of other OEMs have all its partition files under the payload.bin file. Realme on the other hand has its firmware files under OZIP format. So to extract these files, please refer to our detailed reference guides:
How to Extract payload.bin and get stock boot image fileExtract Stock Boot.img from OnePlus OxygenOS Stock ROMHow to Extract OZIP Realme Stock ROM (Firmware)
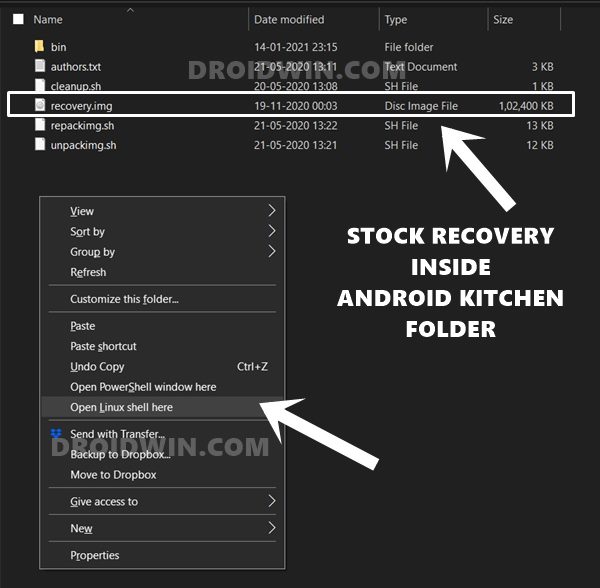
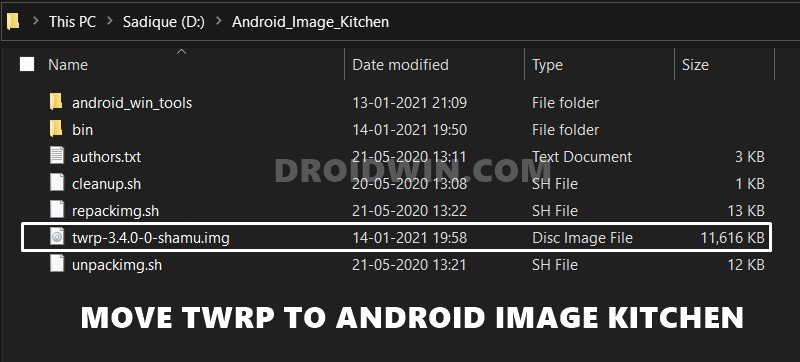
While these guides focus on stock boot.img file, the process is exactly similar for recovery.img file. Just follow the guide as it is and you will get the desired file. Once you get this stock recovery.img file, move it inside the Android Image kitchen folder on your PC (see the below image in STEP 5). Then proceed to the next step to create and port TWRP Recovery to any Android device.
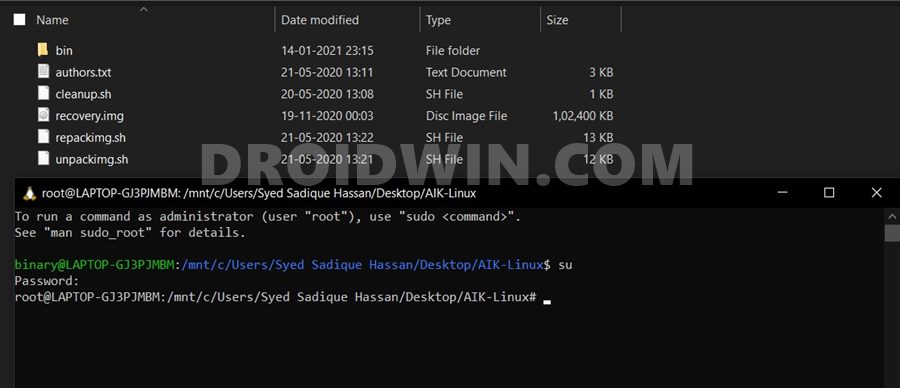
STEP 5: Get Root Privileges in Linux Shell on Windows 10
It’s now time to go to SuperUser Mode and get root access on Linux! For that, you will have to open Ubuntu inside the same directory where you have extracted the Android Image Kitchen (AIK).
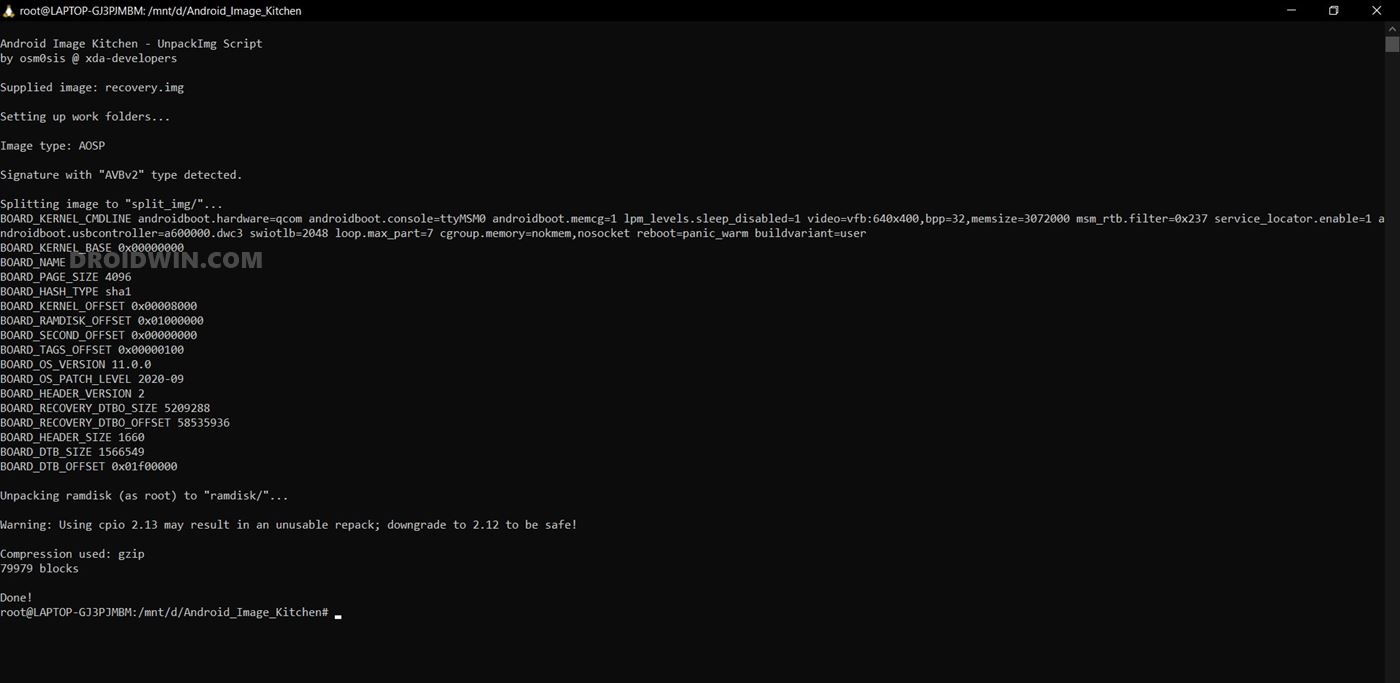
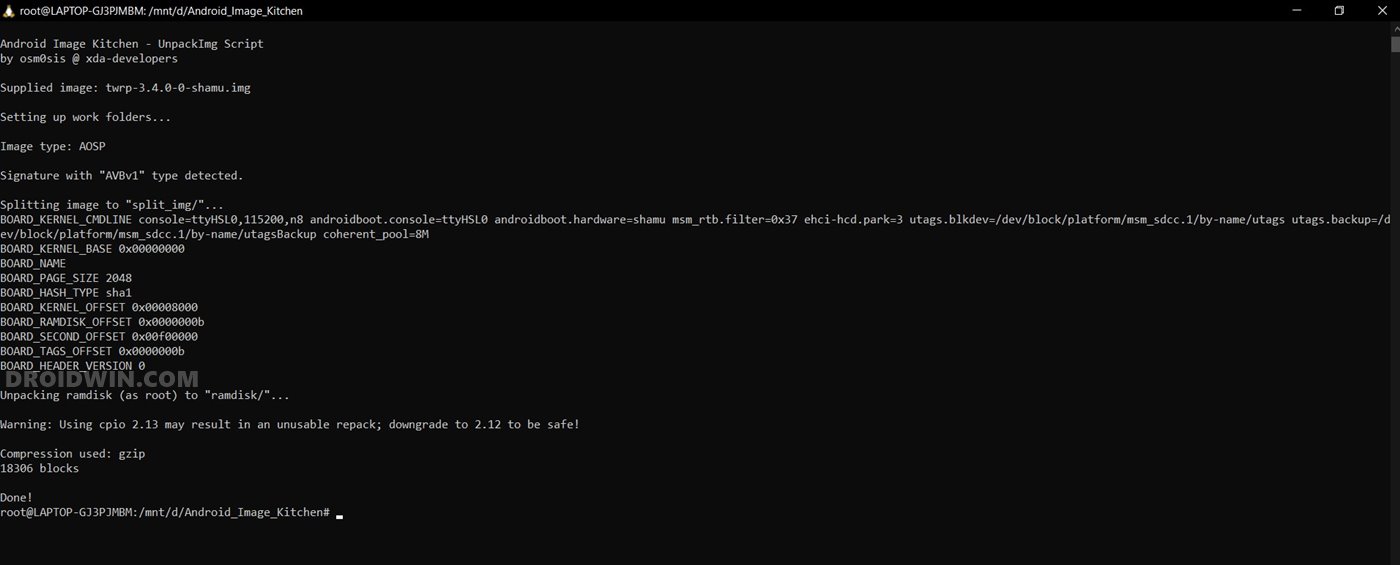
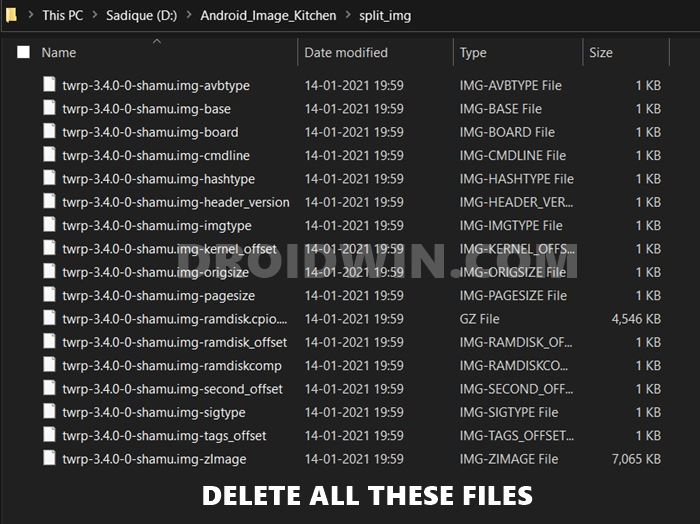
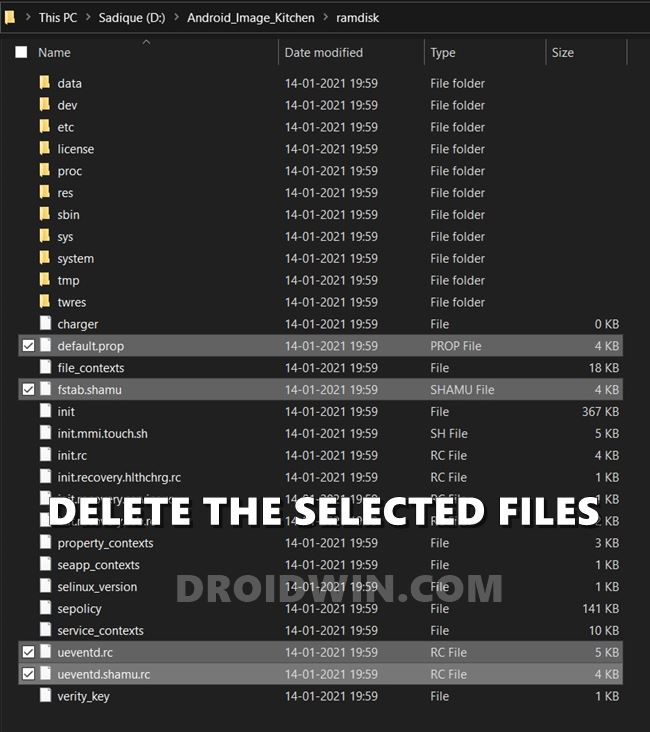
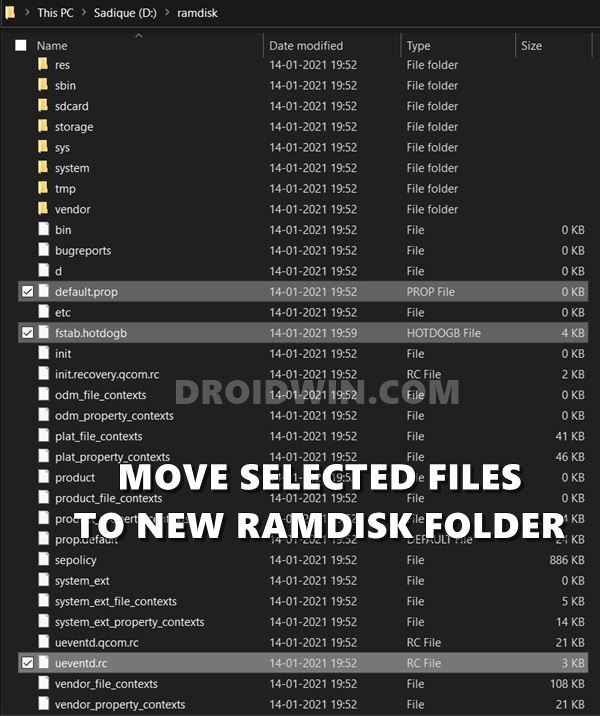
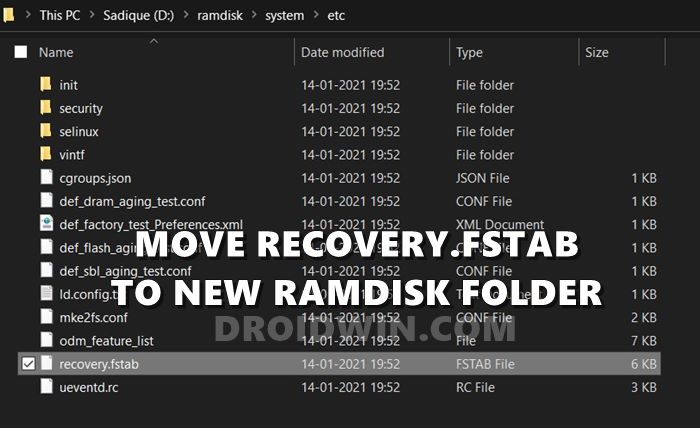
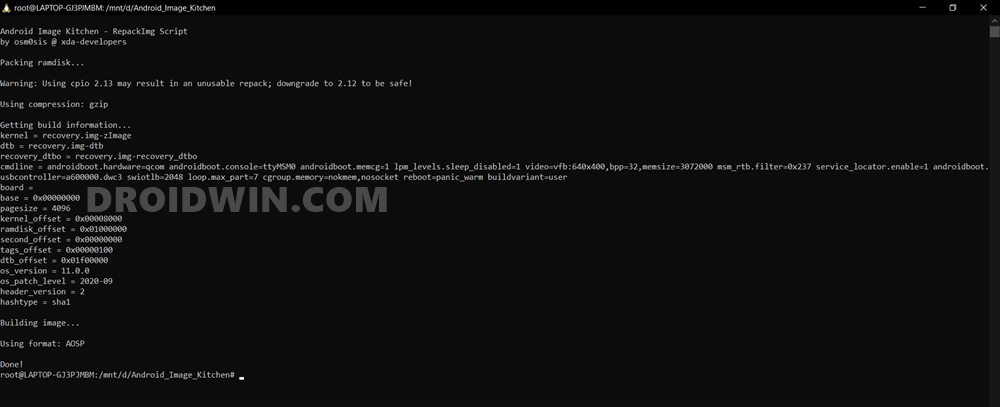
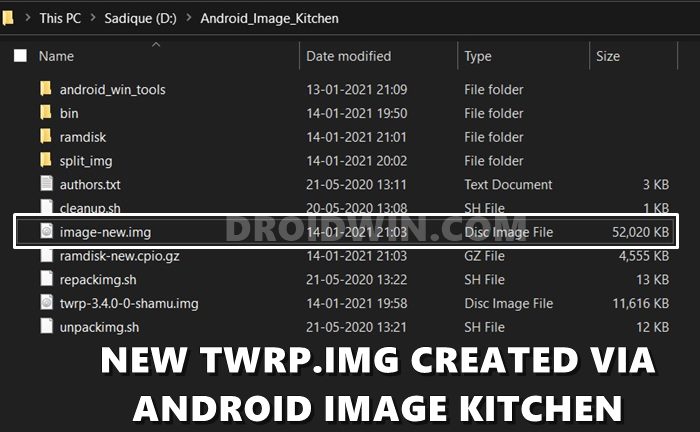
STEP 6: Creating TWRP Recovery
That’s it. These were the steps to create and port TWRP Recovery for any Android device. You may flash it onto your device and reap the rewards. With that said, if you have any queries, do let us know in the comments section below. I will try my best to address all your queries in as much detail as possible.
How to Replace LineageOS Recovery with TWRPRoot Android 11 via Magisk Patched boot.img (without TWRP)How to Root Android Devices via TWRP RecoveryHow to Pass Magisk SafetyNet on Rooted Android 11
Other Useful TWRP Resources
Now that you have created the TWRP Recovery for yourself, it’s time to flash it onto your device. For that, you may refer to our comprehensive guide: TWRP: fastboot flash vs fastboot boot: Which command to use.Then upon flashing the TWRP, if you end up in a bootloop, then refer to our guide: How to Fix Soft brick/Bootloop after installing TWRP RecoveryLikewise, if you get unable to mount data partition error, or internal storage shows 0MB, then this guide will help you out: How to Fix TWRP 0MB Internal Memory Issue.
About Chief Editor