Stage Manager in macOS Ventura [Credits: Apple]However, inspite of all the goodies attached, it might occasionally go through a few bugs and issues as well. Among them, it is the inability of the wireless network to function along the expected line that would be the most infuriating issue for the end users. If you are also currently in the same boat, then this guide will make you aware of a few nifty workarounds that would rectify the WiFi not working issue on your macOS Ventura. So without further ado, let’s check them out.
Fix WiFi not working on macOS Ventura
It is recommended that you try out each of the below-mentioned workarounds and then see which one spells out success for you. So with that in mind, let’s get started.
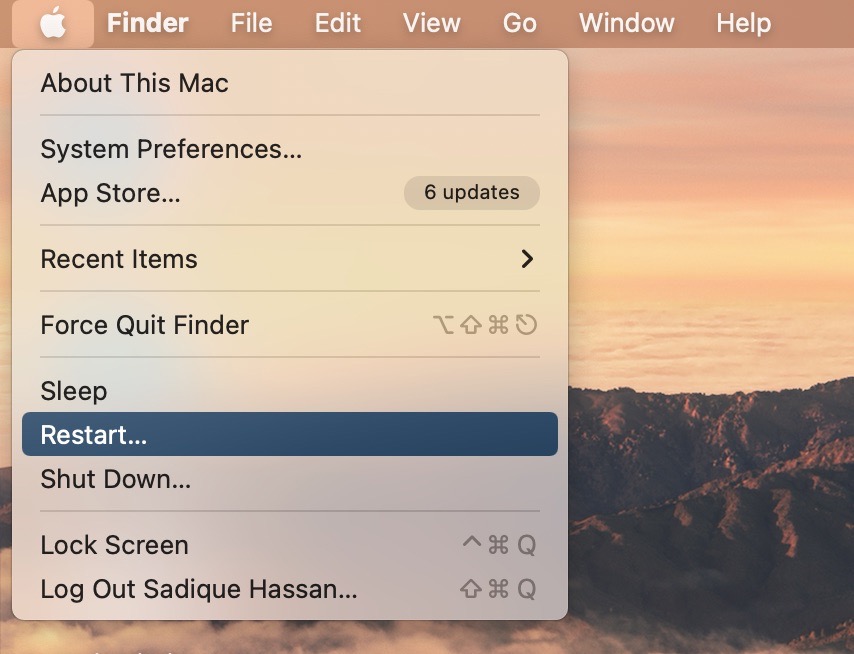
FIX 1: Restart Mac
While it may be one of the most obvious workarounds, but trust us, in many instances, a simple restart of the PC is all that is needed when it comes to fixing Wi-Fi-related issues. So let’s put it to the test and check out the results-
FIX 2: Restart Router
Next up, you should consider restarting the router so as to refresh the underlying network settings. So switch it off and then unplug it from the power socket as well. Then wait for a minute and plug it back in. Now let your Mac connect to the WiFi network and see whether the connection gets established.
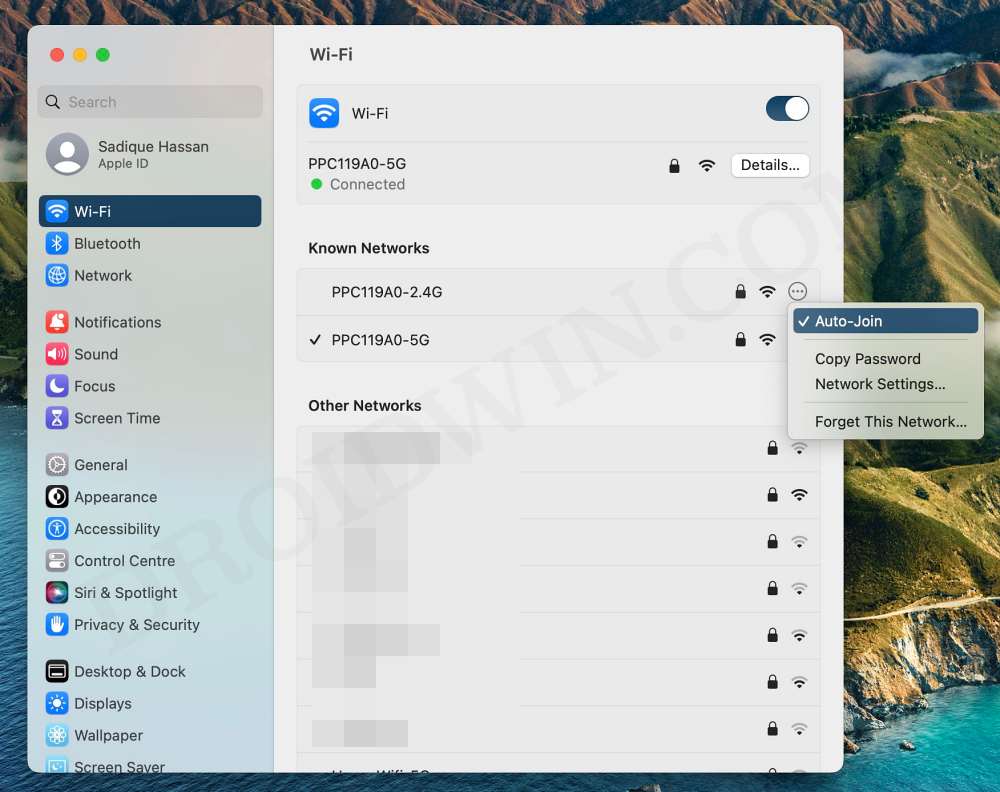
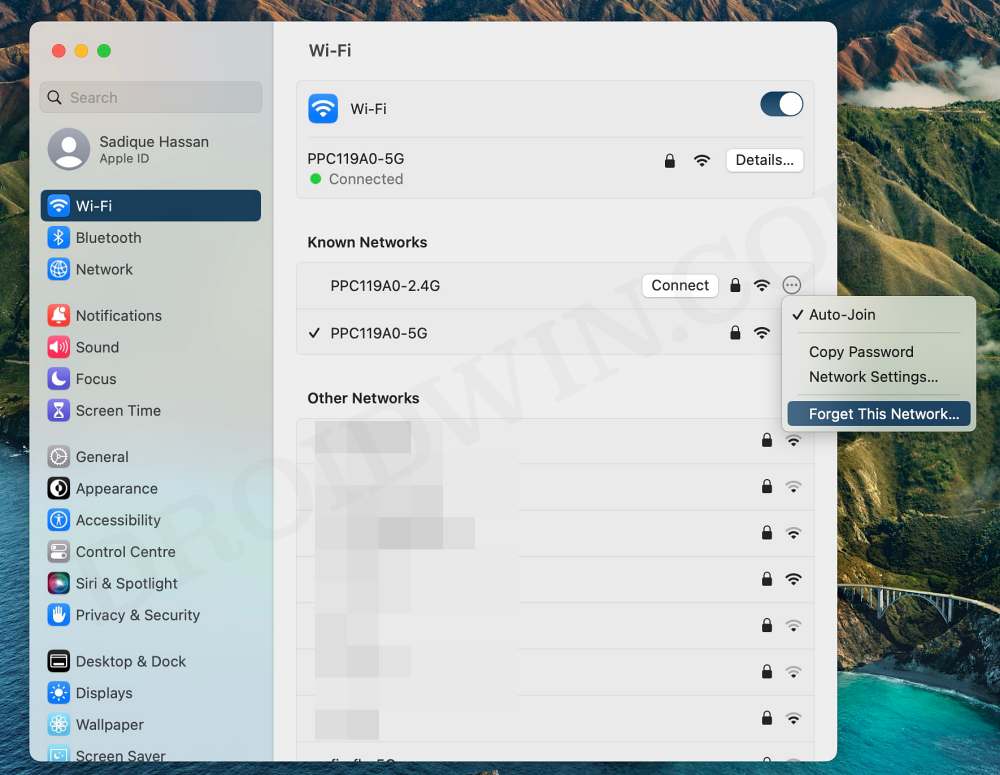
FIX 3: Uncheck “Automatically Join This Network”
Your Mac will automatically connect to a saved network as soon as it founds one. However, this automatic connection might not always be the best approach, rather you should manually select the network of your choice and then proceed to establish a connection via it. Here’s how it could be done:
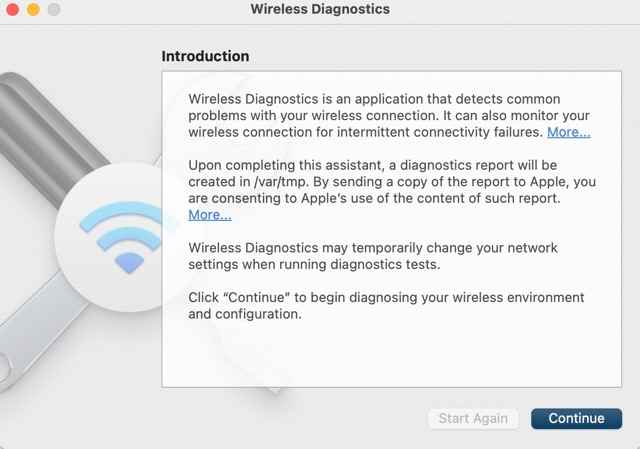
FIX 4: Use Wireless Diagnostic
Mac comes with a built-in troubleshooter that is specifically designed to diagnose, debug, and troubleshoot network-related issues. So let’s put this tool to the test and check out the results.
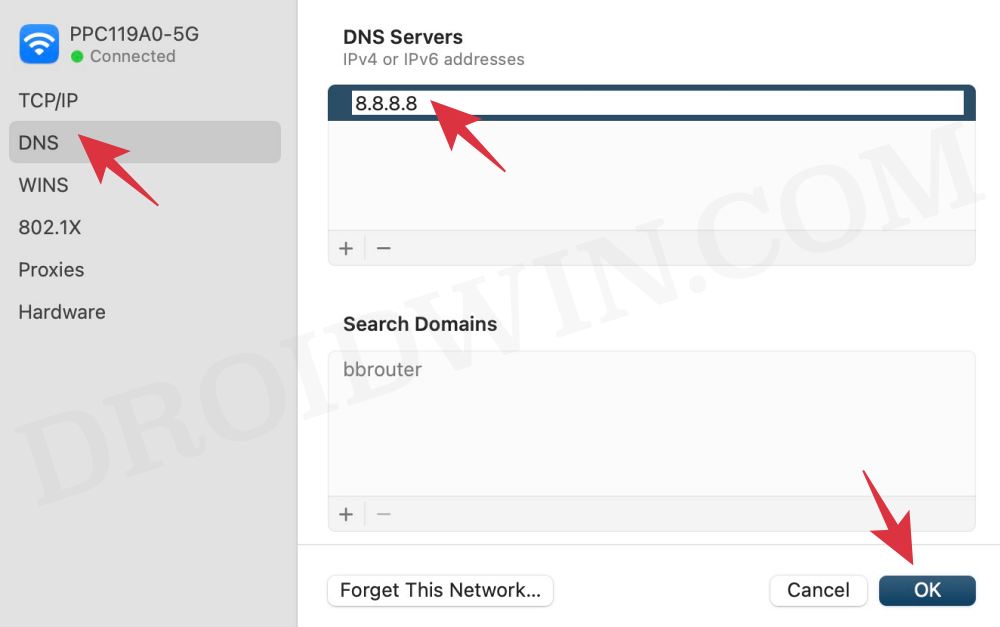
FIX 5: Change DNS Settings
Your Internet Service Provider would have automatically assigned a Domain Name Server to your system. However, over the due course of time, the data might get corrupted or outdated, and hence the web browser might not be able to translate the URL to its associated IP Address. In such instances, you could opt for a third-party DNS such as the ones from Google and Cloudflare. Apart from providing a more secure data exchange platform, they are also more efficient and stable. As for this guide, let’s proceed with the DNS from Google. [Note: this fix is only for those users who are able to at least connect to their WiFi but are facing some issues in its proper functioning [such as frequent network drops]. However, if you aren’t even able to connect to the WiFi, then you wouldn’t be able to change DNS, and in that case, you should skip this fix and move over to the next one.
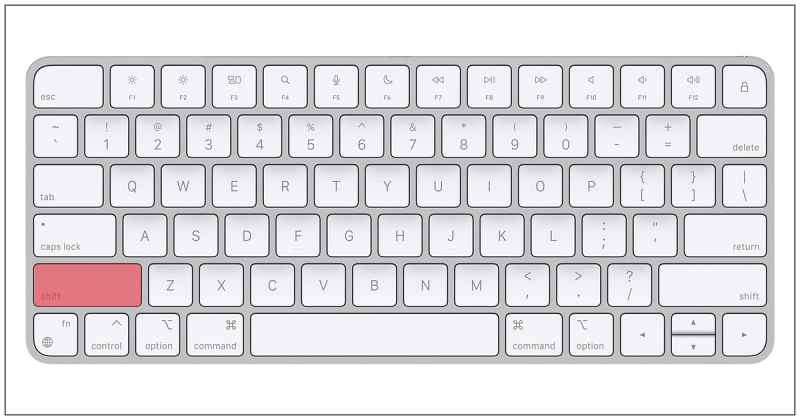
FIX 6: Boot to Safe Mode
In some instances, a third-party app especially those that belong to the networking domain might end up conflicting with your Mac’s WiFi settings. The best way to verify and rectify it is to boot your Mac to Safe Mode. in this mode, all the third-party apps and services will be disabled. And if the underlying issue gets resolved in this mode, then the culprit is indeed a third-party app that you need to uninstall from your Mac at the earliest. Here’s how all of this could be done:
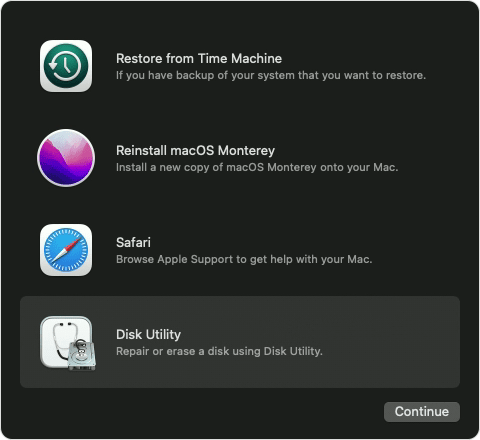
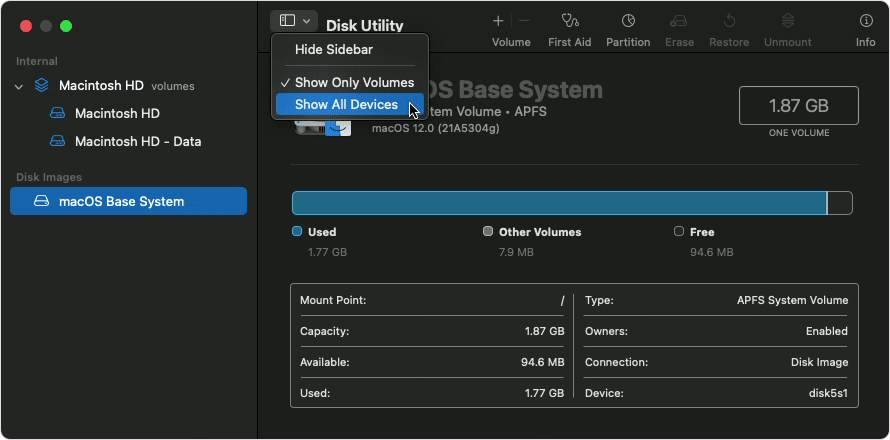
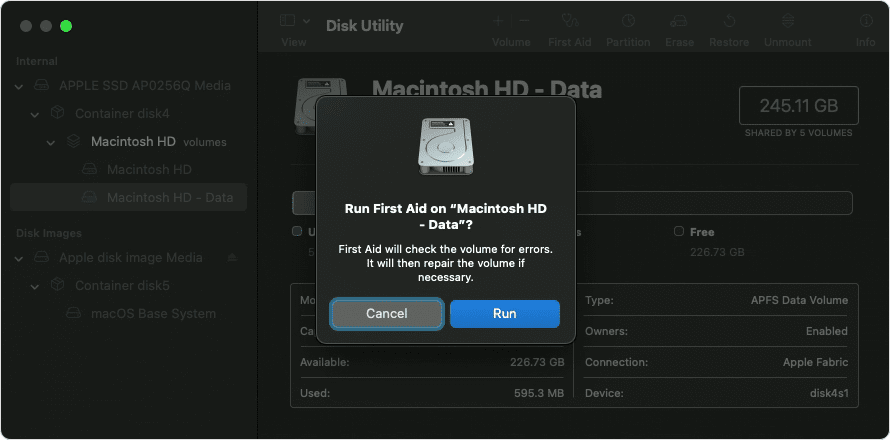
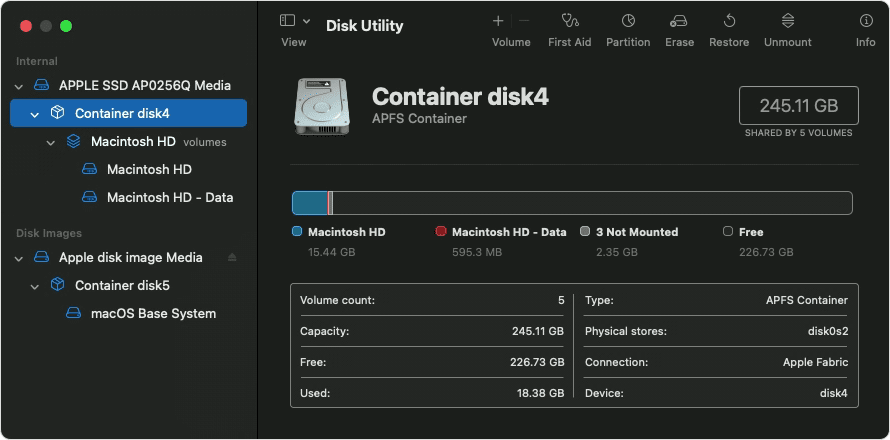
FIX 7: Use First Aid via Recovery
While the chances are quite rare, but this issue might also arise due to a bad sector on the disk or the presence of any corrupt data. So you should make use of Disk Utility’s First Aid to squash all the disk-related bugs and then check out the results. Here’s how it could be done:
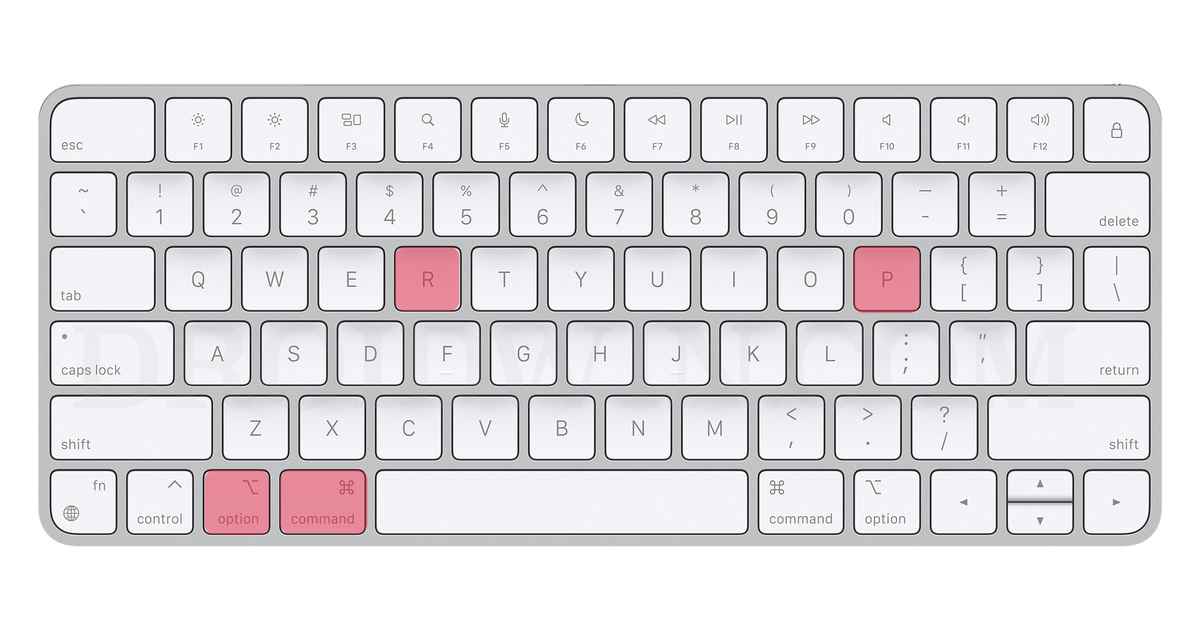
FIX 8: Reset NVRAM
Both M1/M2 and Intel-based Macs come with NVRAM [Non-Volatile Random Access Memory) which holds information about the configuration of your Mac. They store information related to your desktop settings, mouse, keyboard, time zone, and display resolution, among others. So if this stored data gets corrupted, then its associated hardware or software component might not be able to perform as expected. Therefore, you will have to reset the NVRAM, using the instructions given below:
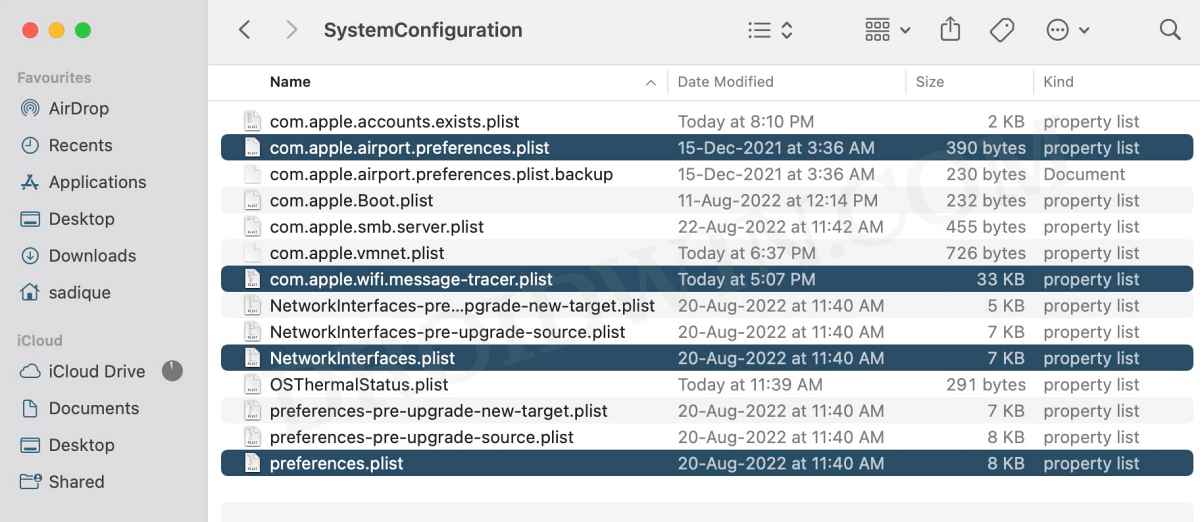
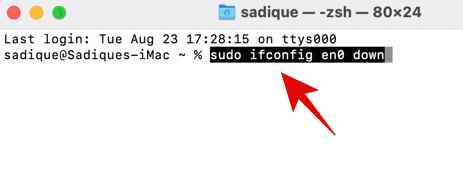
FIX 9: Reset Network Configuration
In case the network configuration has got corrupted, then your best course of action would be to reset it and bring it back to its default value. Here’s how it could be done:
FIX 10: Reset Network Settings
If resetting the network configuration didn’t spell out success, then you should delete Mac’s network settings and check out the results.
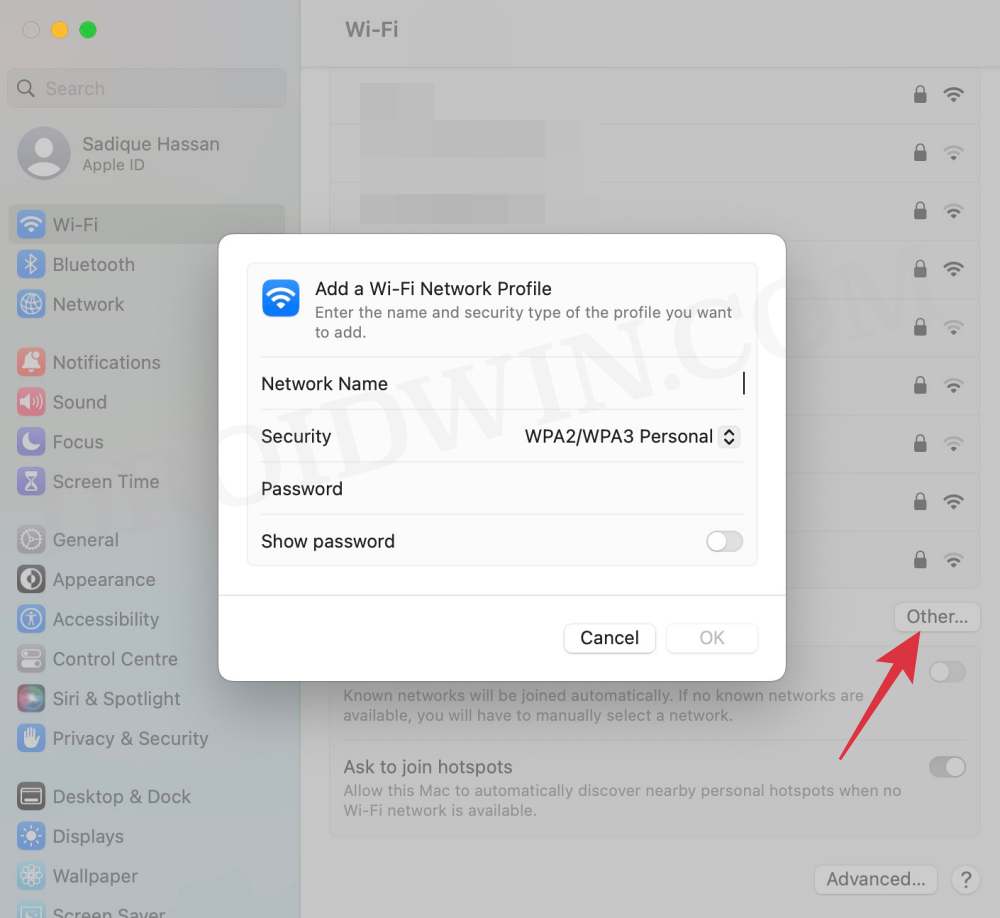
FIX 11: Reset WiFi Connection
If none of the aforementioned fixes worked out in your favor, then your last course of action should be to reset the WiFi connection. Doing so will delete the saved WiFi network and you will then have to create its fresh instance. Here’s how:
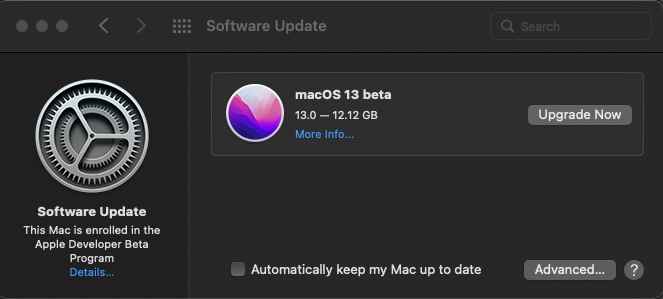
FIX 12: Update macOS
In some instances, a buggy update rolled out by Apple might also result in network-related issues. if that is the case, then the Cupertino giant is usually quick to roll out a patch in the form of an update. So if there’s a pending update, then you should grab hold of it without any second thought. Here’s how:
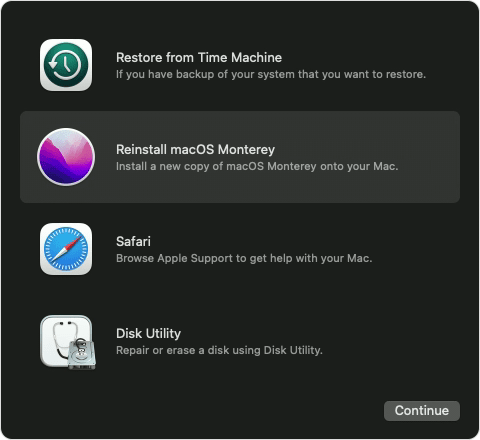
FIX 13: Reinstall macOS without Data Wipe
If none of the aforementioned methods spelled out success, then your last curse of action should be to reinstall macOS without resetting your Mac. Here’s how it could be done: That’s it. These were the various methods that shall help you fix the WiFi not working issue on macOS Ventura If you have any queries concerning the aforementioned steps, do let us know in the comments. We will get back to you with a solution at the earliest.
UPDATE 1: Slow/No Internet after updating to macOS 13.3
Many users are reporting that their internet speed has taken a significant hit or in some cases is not even working after updating their Mac to the latest macOS 13.3. If you are also currently facing this bug, then the aforementioned fixes should help you rectify this issue, so do give them a try right away.
How to Create a New Text File in a Folder on MacBluetooth Not Working in Mac: How to Fixnsmb.conf file missing from Preferences or Etc folder on Mac [Fixed]Netbiosd High CPU Usage on Mac: How to Fix
About Chief Editor